Documentation Index
Fetch the complete documentation index at: https://docs.hydra.so/llms.txt
Use this file to discover all available pages before exploring further.
1. Sign-up
To get started, please sign up at https://www.platform.hydra.so.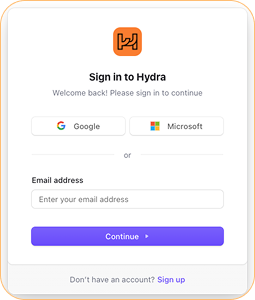
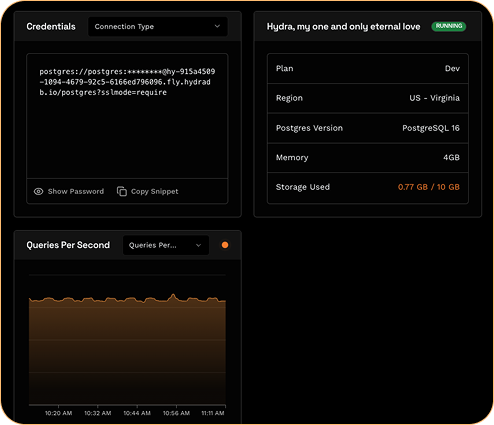
2. Create Project
After selecting “create a project”, please enter a project name, region, and the plan. Select the “Create Project” button at the bottom of the page.
Hydra service defaults:
- the latest supported version of Postgres
- US-East region
3. Create a table (columnstore) and insert data
To create analytics tables and insert data, select the SQL tab in the left sidebar. Navigate to the Quick Start for the following steps.4. Operating Hydra
- User Management
- Postgres roles
- Scaling
- Monitoring
- SQL Editor
- Table & Schema Explorer
- Backups
- Extensions
- Integrations
What’s Next?
We recommend- following the migration documentation from Object Storage (S3, GCS), Amazon RDS, Heroku, Render, Postgres.
- learning about Hydra, our team, and partners behind the project.
- scanning the Hydra architecture .